Golf Swing Basics: The Complete Step-by-Step Guide for Beginners
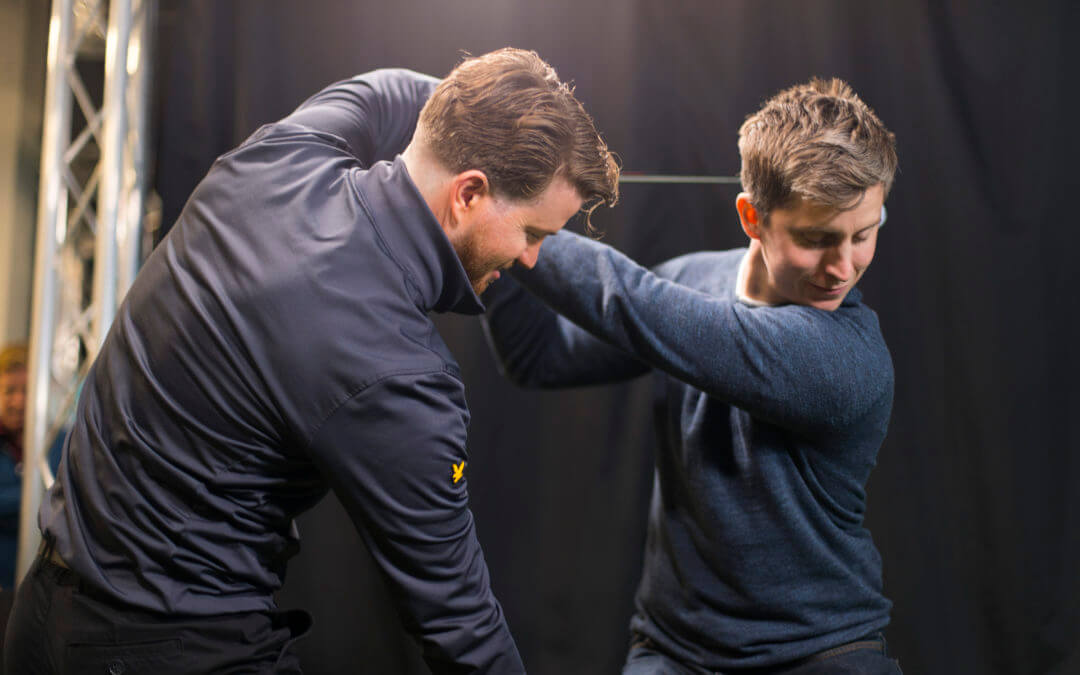
If your shots feel inconsistent, weak, or unpredictable, the problem almost always traces back to one of five things: grip, stance, takeaway, sequencing, or tempo. This guide breaks down golf swing basics into a repeatable, step-by-step system you can practice today no jargon, no guesswork, just the fundamentals that build a reliable swing.
Whether you’re picking up a golf club for the first time or trying to improve inconsistent ball striking, learning the fundamentals before chasing advanced techniques will help you improve faster. A consistent golf swing starts with a consistent setup.
Quick Answer
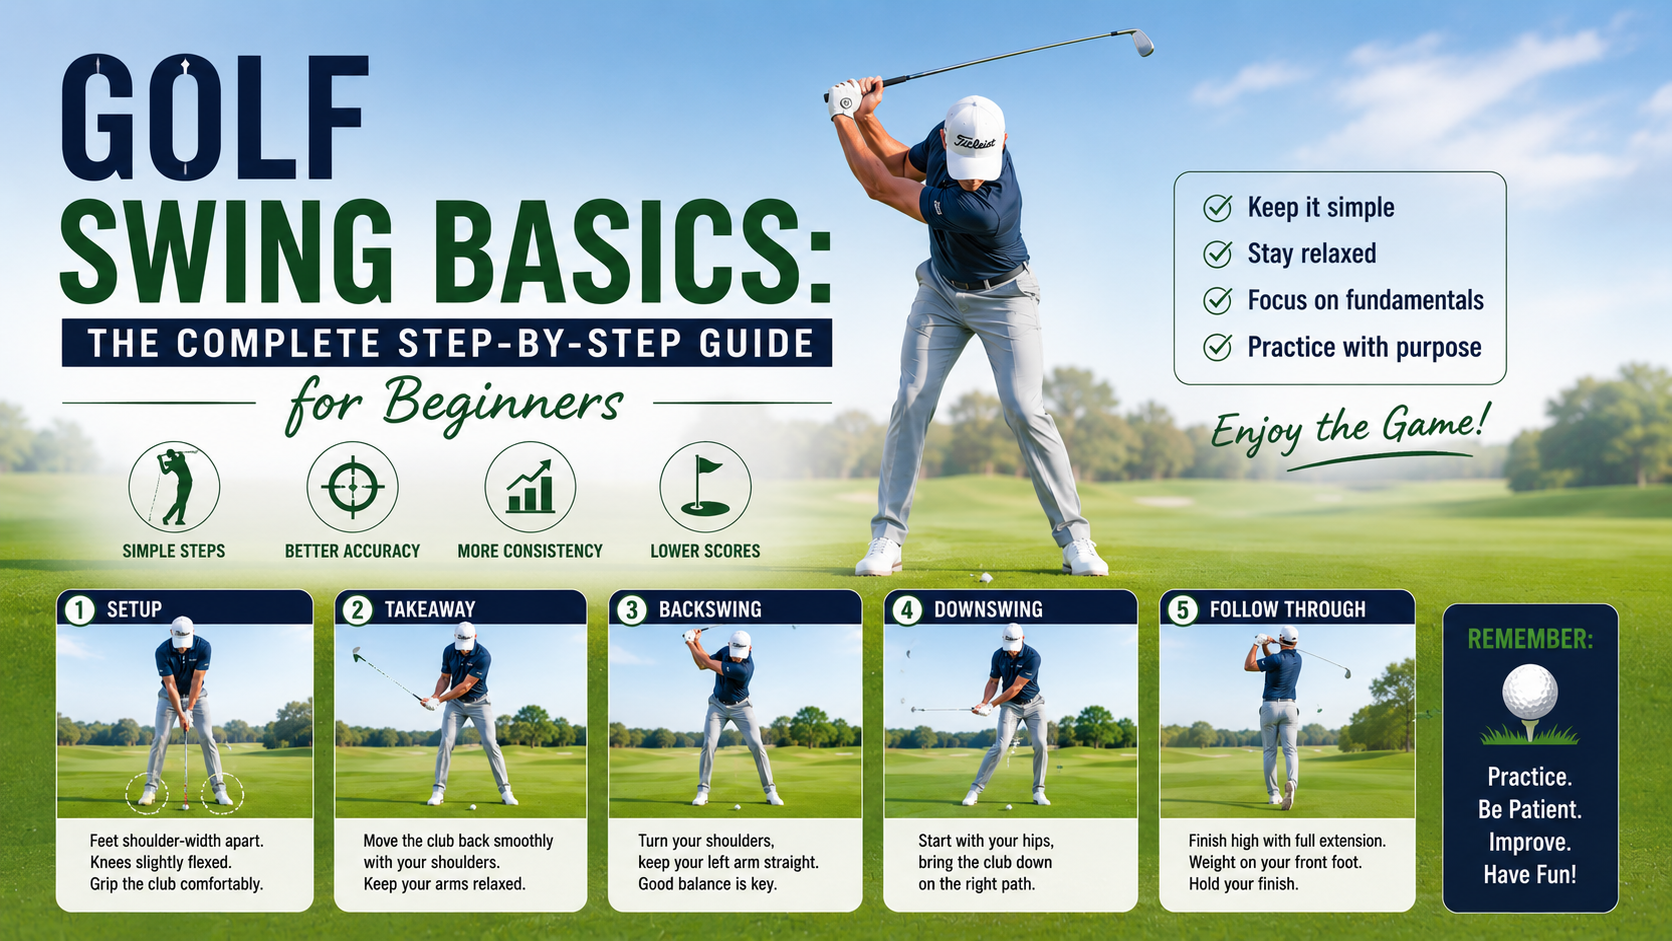
A proper golf swing follows five core stages grip and setup, takeaway, backswing, downswing, and follow-through powered by rotating your body around a stable spine angle while your arms and the club stay in sync with that rotation.
Getting the setup right solves roughly 80% of common swing faults before the club ever moves.
Golf Swing Sequence at a Glance
| Swing Phase | Primary Goal |
|---|---|
| Setup | Build balance and athletic posture |
| Takeaway | Keep the club connected to your body |
| Backswing | Create coil and store energy |
| Transition | Start the downswing from the ground up |
| Downswing | Deliver speed while maintaining sequence |
| Impact | Return a square clubface with proper shaft lean |
| Follow-Through | Finish balanced and facing the target |
Quick Tip: Don’t think of the golf swing as one movement. Think of it as a sequence of connected movements, where each phase prepares you for the next.
What Is a Golf Swing, Really?
A golf swing is a rotational, whole-body motion not an arm swing.
Your shoulders, hips, and torso rotate around a fixed spine angle while your arms and the club follow that rotation.
This is why golfers who focus only on “swinging the arms” tend to slice, top the ball, or lose power.
The body leads.
The arms and club follow.
Understanding this one concept changes how you practice every drill in this guide.
Golf Swing Setup: The Foundation Everything Else Depends On
Before you swing, your setup determines your ball flight.
Tour players and instructors alike agree that most mishits start before the club ever moves.
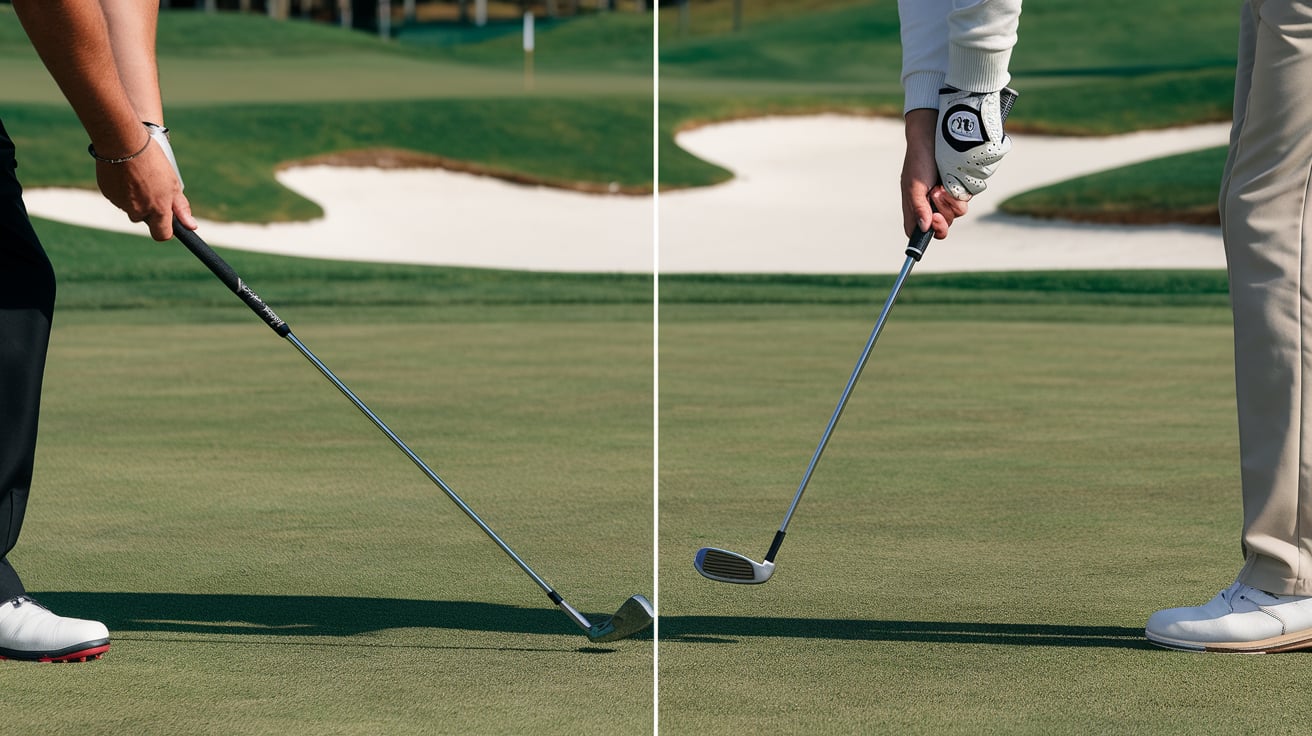
1. Golf Grip
Your grip is your only connection to the club, so grip pressure and hand position directly control the clubface angle at impact.
- Hold the club more in your fingers than your palm.
- Grip pressure should feel like holding a tube of toothpaste without squeezing any out roughly a 4 out of 10 on a tightness scale.
- For a neutral grip, you should see 2 to 2.5 knuckles of your lead hand when you look down.
Common grip mistake:
Gripping too tightly.
Tension in the hands travels up the arms and restricts wrist hinge, which kills clubhead speed.
Related Guide: Learn how to build a proper grip in our Proper Golf Grip guide.
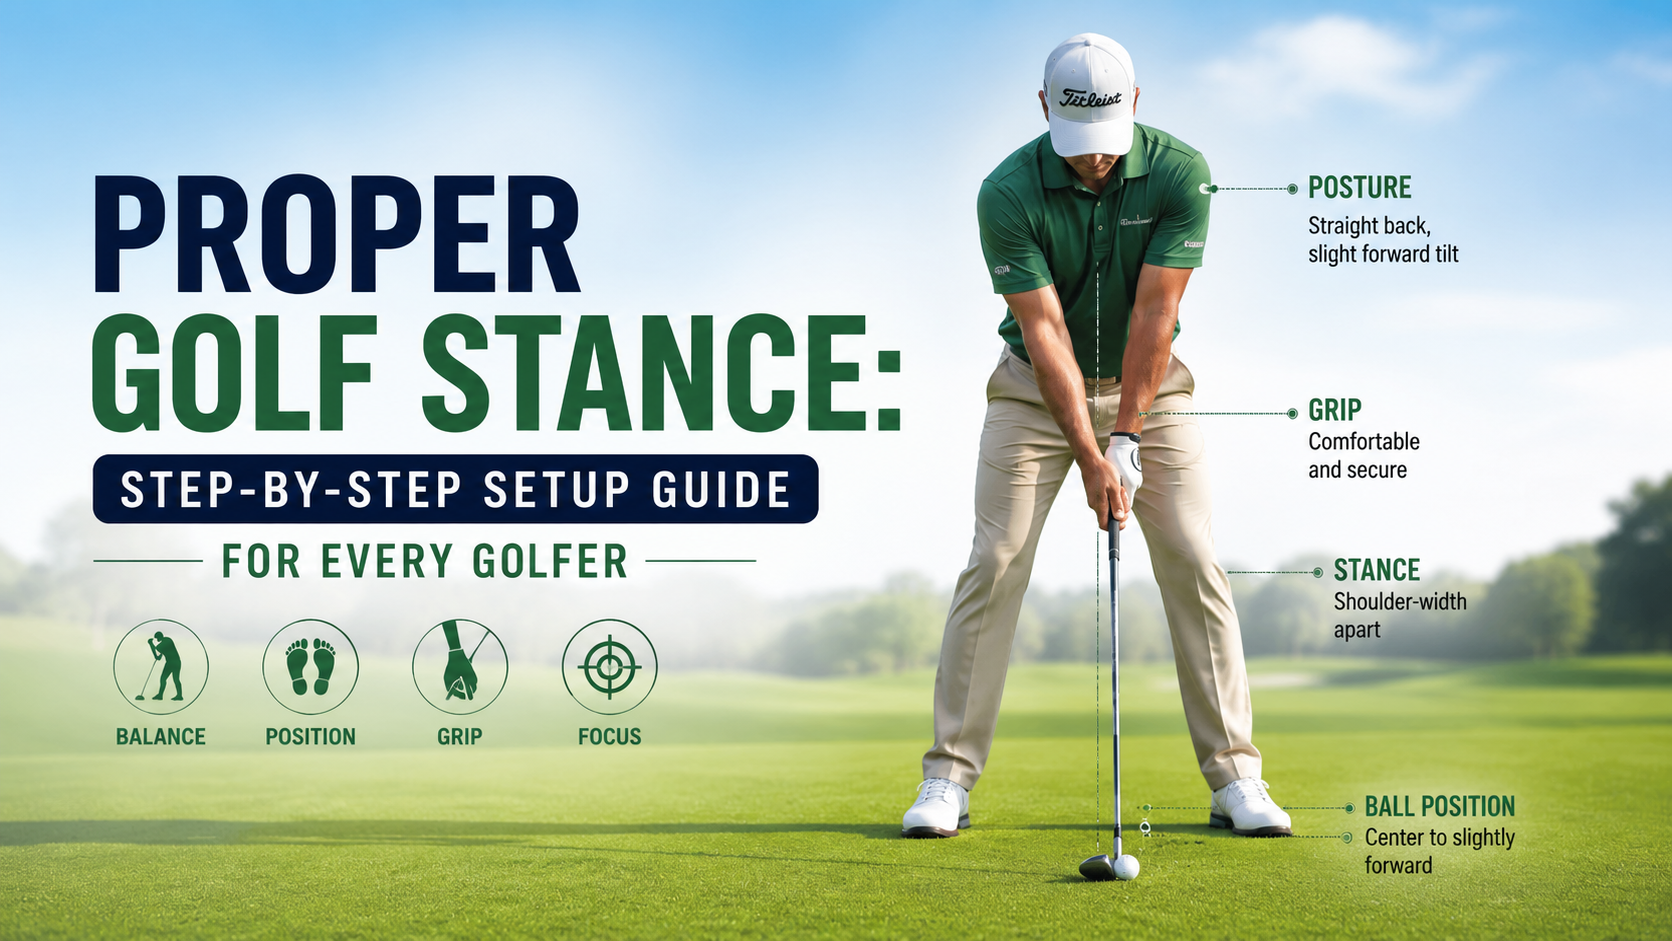
2. Golf Stance
- Feet roughly shoulder-width apart for mid-irons; slightly narrower for short irons and slightly wider for the driver.
- Weight balanced evenly between both feet at address, centered over the middle of your feet (not your heels or toes).
- Knees softly flexed, never locked.
A stable stance allows your body to rotate efficiently while maintaining balance throughout the swing.
Related Guide: Read our Proper Golf Stance guide for a complete setup tutorial.
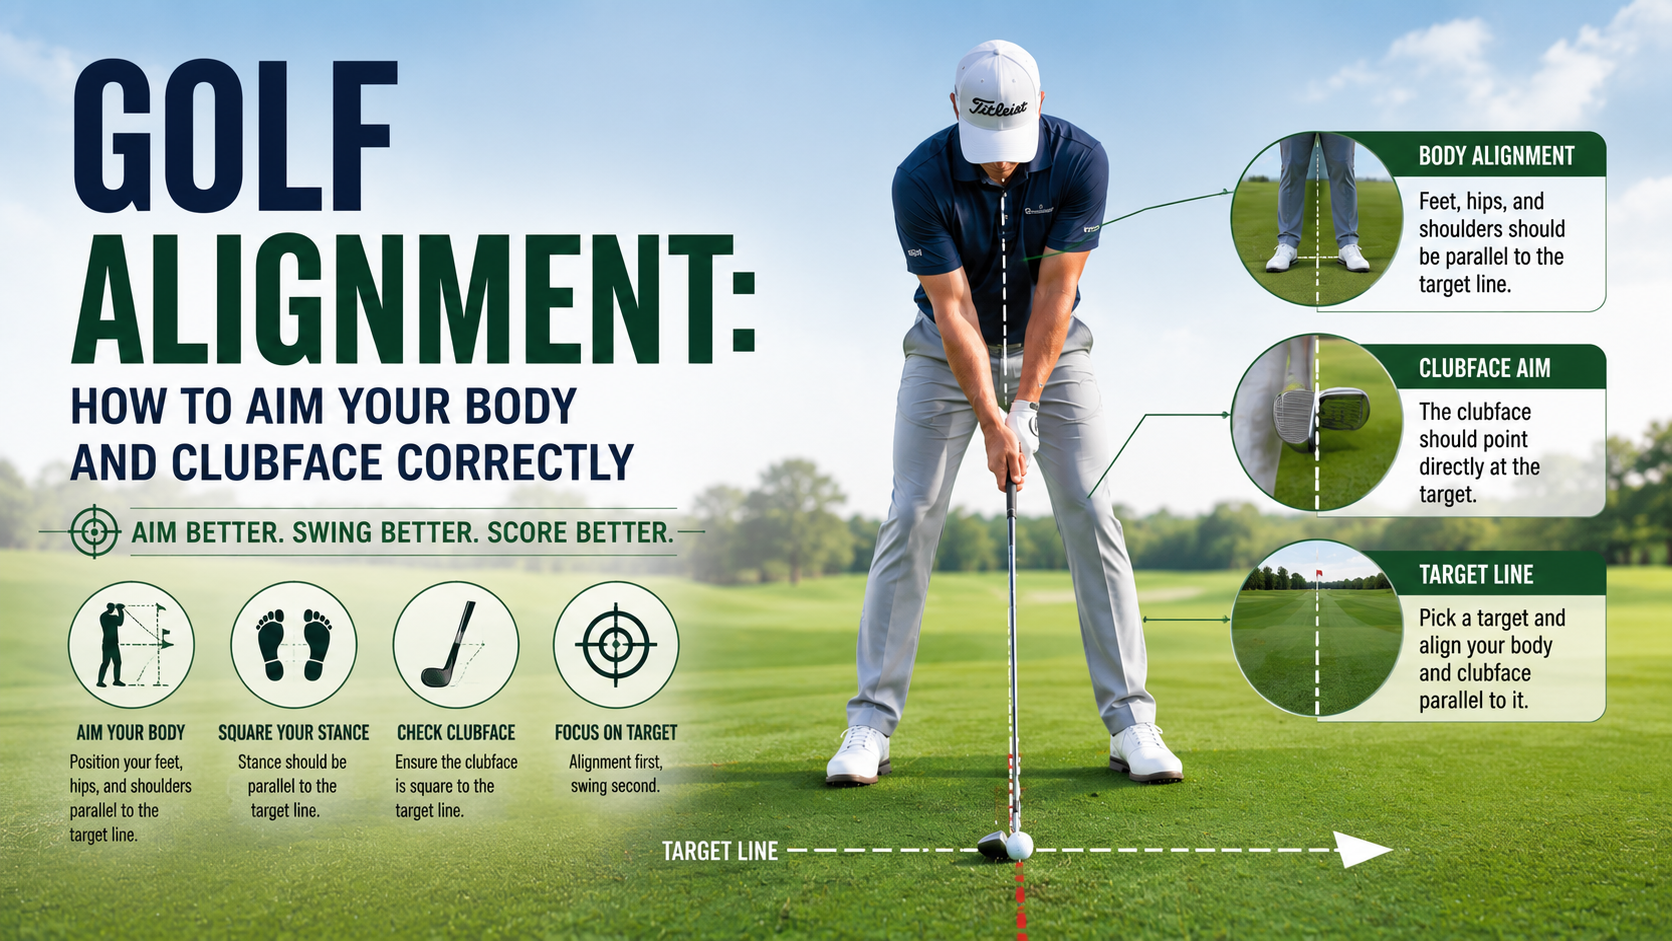
3. Golf Alignment
Your feet, hips, and shoulders should sit parallel to your target line, like train tracks.
Imagine two railroad tracks:
- One track represents the target line.
- The other represents your body alignment.
A simple check:
Lay a club on the ground pointing at your target, then position your feet parallel to that club during practice.
Poor alignment often causes golfers to make unnecessary swing changes when the real problem is simply aiming incorrectly.
Related Guide: Learn more in our complete Golf Alignment guide.
4. Golf Ball Position
| Club Type | Ball Position |
|---|---|
| Driver | Just inside the lead heel |
| Fairway Woods / Hybrids | Slightly ahead of center |
| Mid-Irons (6–8 Iron) | Center of stance |
| Short Irons / Wedges | Slightly behind center |
Correct ball position helps control your low point, launch angle, and quality of contact.
Even moving the ball one or two inches can dramatically change ball flight.
Related Guide: Read our detailed Golf Ball Position guide to learn the ideal position for every club.
5. Athletic Posture and Spine Angle
- Bend from the hips, not the waist while keeping your back relatively straight.
- Let your arms hang naturally below your shoulders.
- Keep your chest relaxed and your weight balanced over the middle of your feet.
This posture creates your spine angle, which acts as the axis your body rotates around throughout the golf swing.
Maintaining this angle from takeaway through impact is one of the biggest keys to consistent ball striking.
Why the Setup Matters
Many golfers immediately blame their swing after hitting a poor shot.
In reality, poor contact often starts before the club even moves.
Your grip, stance, alignment, ball position, and posture all influence:
- Clubface control
- Swing path
- Balance
- Weight transfer
- Low point
- Shot direction
- Contact quality
Before changing your swing mechanics, always check your setup first.
Small improvements at address often produce immediate improvements in ball striking.
Coach’s Tip
Many golfers believe they have an inconsistent swing.
In reality, they often have an inconsistent setup.
Before changing anything in your swing, ask yourself:
- Was my grip the same?
- Was my stance the same?
- Was my ball position correct?
- Was my alignment correct?
Professional instructors almost always check setup before changing swing mechanics because setup mistakes are easier to fix and often solve the problem immediately.
The Golf Swing Sequence: Step by Step
Once your setup is solid, the swing itself becomes much easier to repeat.
Rather than thinking of the golf swing as one continuous motion, break it into a sequence of connected phases. Each phase naturally prepares your body for the next, helping you generate both power and consistency.
Step 1: The Takeaway
The takeaway is the first 12 to 18 inches of the swing and sets the foundation for everything that follows.
Move the club back low and slow using your shoulders, chest, and arms together not just your hands.
During the takeaway:
- Keep the clubhead low to the ground.
- Keep the clubface square to your spine angle.
- Allow your shoulders and torso to rotate together.
- Avoid rolling your wrists open too early.
- Maintain your posture and balance.
Common Takeaway Mistakes
- Picking the club straight up.
- Rolling the wrists open.
- Starting only with the hands.
These mistakes often create an inconsistent swing path that becomes difficult to recover later.
Step 2: The Backswing
The backswing stores energy that will later be released into the golf ball.
As the club moves back:
- Rotate your shoulders approximately 90 degrees.
- Allow your hips to rotate naturally about 45 degrees.
- Let your wrists hinge naturally.
- Shift pressure gradually into the inside of your trail foot.
- Keep your head relatively steady.
At the top of the backswing, the club should feel balanced not forced.
Trying to swing farther than your flexibility allows usually hurts consistency more than it helps distance.
Key Checkpoints
- Wide swing arc
- Relaxed wrists
- Stable head
- Balanced trail side
Step 3: The Transition
Many instructors consider the transition the most important part of the golf swing.
It lasts only a fraction of a second, yet it largely determines whether you produce effortless power or inconsistent contact.
Good transition starts from the ground up.
Instead of throwing your arms toward the ball, allow your lower body to begin moving first.
Proper Transition Sequence
- Pressure shifts toward the lead foot.
- Hips begin rotating.
- Torso follows.
- Arms drop naturally.
- Club follows into the slot.
This sequence creates lag, improves clubhead speed, and helps deliver the club on a more efficient swing path.
Step 4: The Downswing
The downswing is not about swinging harder.
It’s about delivering the club in the correct sequence.
During the downswing:
- Weight continues moving onto your lead foot.
- Hips rotate toward the target.
- Chest follows naturally.
- Arms remain connected to your body.
- The club shallows behind you instead of moving over the top.
A common mistake is trying to hit the ball with your hands.
Instead, allow your body rotation to pull the club through impact.
Step 5: The Impact Position
Impact lasts less than half a millisecond, but it determines almost everything about your shot.
At impact:
- Hips should be open toward the target.
- Hands should be slightly ahead of the clubhead.
- Weight should be roughly 80–90% on your lead foot.
- Head should remain behind the ball.
- Clubface should return square to the target line.
Your goal isn’t to lift the ball into the air.
The loft of the club does that for you.
Your job is simply to make clean, centered contact.
Step 6: Release and Follow-Through
After impact, continue rotating through the shot.
Allow your forearms to release naturally as the clubhead passes your hands.
At the finish:
- Your chest faces the target.
- Nearly all of your weight rests on your lead foot.
- Your trail foot finishes up on its toe.
- You can comfortably hold your finish for at least three seconds.
A balanced finish is often the best indicator of a well-sequenced golf swing.
Golf Swing Checklist
Before every practice session, quickly review these fundamentals:
– Grip pressure light (about 4/10)
– Neutral grip position
– Feet, hips, and shoulders parallel to the target
– Ball position matched to the club
– Athletic posture with a stable spine angle
– Smooth takeaway
– Full shoulder turn
– Lower body starts the downswing
– Weight transfers onto the lead foot
– Balanced finish
The more often you check these fundamentals, the fewer swing changes you’ll need later.
Common Golf Swing Mistakes and How to Fix Them
| Mistake | Likely Cause | Quick Fix |
|---|---|---|
| Slice | Open clubface or out-to-in swing path | Strengthen your grip slightly and improve your transition. |
| Hook | Clubface closing too early | Check grip strength and avoid excessive hand action. |
| Fat Shot | Weight remaining on the trail foot | Shift pressure toward your lead foot before impact. |
| Thin Shot | Standing up through impact | Maintain your spine angle and stay in posture. |
| Topped Shot | Early extension | Keep rotating instead of lifting your body. |
| Loss of Distance | Arms dominating the swing | Let your hips lead the downswing and maintain lag. |
| Casting | Releasing wrist hinge too early | Practice slow-motion transition drills. |
Coach’s Corner
One of the biggest mistakes golfers make is changing their swing after every poor shot.
Instead, stop and check three things first:
- Is my setup still the same?
- Did I rush my transition?
- Did I finish in balance?
Many “bad swings” are actually caused by small changes in tempo or setup rather than flaws in swing mechanics.
Quick Self-Diagnosis
Use this table before making major swing changes.
| If You Usually Hit… | Check This First |
|---|---|
| Slice | Grip strength and swing path |
| Hook | Clubface control and grip |
| Fat Shots | Weight transfer |
| Thin Shots | Spine angle |
| Weak Shots | Tempo and rotation |
| Inconsistent Contact | Setup consistency |
| Pushes | Alignment and clubface |
| Pulls | Shoulder alignment |
Most golfers improve faster by fixing the setup and sequencing before attempting complex swing changes.
Troubleshooting: If Your Swing Still Feels Off
If you’re still struggling after improving your setup, ask yourself these questions:
Ball keeps curving one direction?
Check your grip and clubface before changing your swing path.
Contact changes from shot to shot?
Focus on maintaining your posture and spine angle throughout the swing.
Losing distance?
Make sure your hips not your arms are starting the downswing.
Feeling rushed?
Slow your backswing slightly.
Good tempo creates better sequencing, which leads to more consistent ball striking.
How to Practice the Golf Swing Efficiently
Many golfers spend hours hitting golf balls without seeing much improvement because they practice without a plan.
Instead of focusing on quantity, focus on quality.
Use this simple practice routine:
Step 1: Build Your Setup
Before hitting a single ball, check:
- Grip
- Stance
- Alignment
- Ball Position
- Posture
A consistent setup creates a consistent swing.
Step 2: Practice in Slow Motion
Swing at about 25–50% speed.
Slow-motion practice helps you feel:
- Body rotation
- Weight transfer
- Wrist hinge
- Proper sequencing
Once the movement feels natural, gradually increase your speed.
Step 3: Train One Fundamental at a Time
Avoid trying to fix multiple swing faults during the same practice session.
For example:
- Monday: Grip
- Tuesday: Takeaway
- Wednesday: Transition
- Thursday: Impact
- Friday: Tempo
Small improvements add up faster than trying to rebuild your entire swing at once.
Step 4: Finish Every Swing in Balance
Hold your finish for at least three seconds.
If you can’t maintain your balance, something earlier in the swing probably broke down.
Expert Tips for a More Consistent Golf Swing
Tempo Matters More Than Speed
Many beginners try to swing as hard as possible.
In reality, a smooth swing with solid contact almost always travels farther than a fast swing with poor contact.
Train Your Takeaway
Many swing problems begin during the first few inches of the takeaway.
A slow, connected takeaway helps keep the club on plane throughout the swing.
Rotate, Don’t Lift
Instead of thinking about lifting the club with your arms, focus on rotating your shoulders around your spine angle.
Your arms should follow your body’s rotation naturally.
Balance Is Your Best Feedback
After every practice swing, ask yourself:
“Could I comfortably hold this finish for three seconds?”
If the answer is no, work backward to identify where your balance was lost.
Coach’s Corner
One of the fastest ways to improve is to stop judging every shot by where the ball goes.
Instead, judge every swing by whether you completed the correct sequence.
Ask yourself:
- Did I make a balanced setup?
- Did I keep my takeaway connected?
- Did my hips start the downswing?
- Did I finish in balance?
A well-executed swing that produces a poor shot teaches you more than a lucky shot with poor mechanics.
Beginner Golf Swing Drills You Can Practice at Home
You don’t need a driving range to build a better golf swing.
Mirror Drill
Practice your setup in front of a mirror.
Check:
- Posture
- Spine angle
- Grip
- Ball position
Slow-Motion Swing Drill
Make complete swings at roughly 25% speed.
Focus on sequencing rather than power.
Step-Through Drill
After impact, allow your trail foot to step toward the target.
This teaches proper weight transfer.
Towel Drill
Place a towel beneath both armpits.
Make half swings without dropping the towel.
This improves body-arm connection.
Balanced Finish Drill
After every swing, hold your finish for three seconds.
This develops balance and proper rotation.
How Long Does It Take to Learn a Proper Golf Swing?
Most beginners notice significant improvements in contact and consistency within 4 to 8 weeks of focused practice.
Developing a repeatable swing that performs consistently on the golf course usually takes several months.
Progress depends far more on practice quality than practice quantity.
Practicing with purpose almost always produces better results than simply hitting hundreds of golf balls.
Frequently Asked Questions
Should beginners swing fast?
No. Beginners should prioritize solid contact and smooth tempo before increasing swing speed.
How important is tempo?
Tempo keeps every part of the swing working together. Good tempo often produces more consistent contact than swinging harder.
Does grip affect the golf swing?
Yes. Grip directly influences clubface control, which plays a major role in ball direction and shot shape.
Does stance affect the golf swing?
Absolutely. A poor stance affects balance, weight transfer, and swing path before the club even moves.
Can I practice at home?
Yes. Mirror drills, slow-motion swings, towel drills, and setup rehearsals all help build better mechanics without hitting golf balls.
Key Takeaways
Before every shot, remember these fundamentals:
– Build your setup first.
– Rotate your body instead of swinging only with your arms.
– Start the downswing from the ground up.
– Maintain your spine angle.
– Finish every swing in balance.
Small improvements in these fundamentals often produce the biggest improvements on the golf course.
Note on sourcing: Swing mechanics and drill recommendations in this guide reflect widely-taught fundamentals from golf instruction resources and coaching principles commonly referenced by the PGA of America and leading golf publications. Individual swings vary, and golfers with persistent technical issues or physical limitations should consult a certified PGA/LPGA instructor for personalized, hands-on coaching.

Similar Posts